INSTALLATION VIDEO
OPEN HOLE PADS

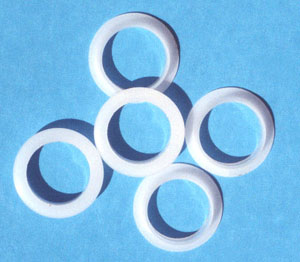
Metal bushings should be replaced with JS leakproof Delrin bushings. JS delrin bushings slide on and off smoothly and make shimming an easy job while reducing the likelihood of damaging a pad. The delrin bushings and gaskets are essential for JS pads because they are flexible and provide a seal against the inner collar (metal bushings will leak). If there are too many partial shims and the pad is tilted, it will leak at the bushing and need special thicker bushing gaskets. Check for bushing leakage by performing a suction test with a piece of tubing on the pad. Order bushings that are .1mm (.004″) smaller than the outside diameter of the cup chimney.
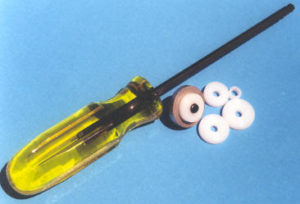
DELRIN BUSHING KIT
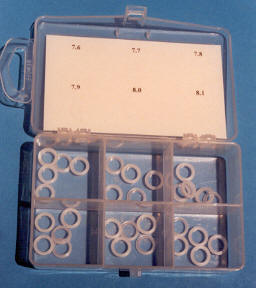
Comes in a 6 compartment container (5 per size) from 7.6 to 8.1mm Sizes 7.5 to 8.3mm are also available.
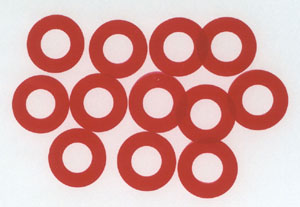
BUSHING GASKETS
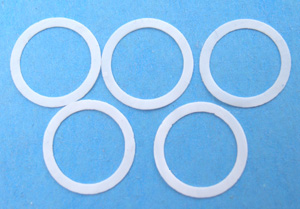
Thin gaskets for bushings – to provide a tight seal for imperfect chimney/cup alignments (solves leaks in otherwise perfect pad jobs). Thin rubber gaskets are trapped between the bushing lip and the pad surface to prevent air leakage.
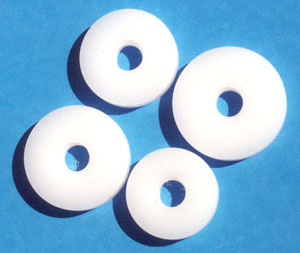
STABILIZERS
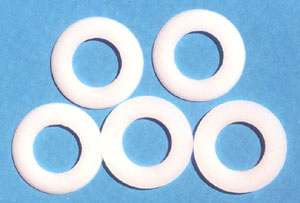
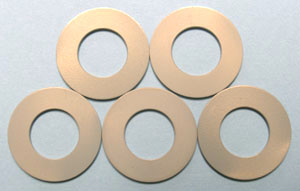
JS pads come in 1.7mm thickness with various foundation washers (stabilizers) .040″ (1mm) thickness is most common. Delrin is standard but aluminum stabilizers are also available. Stabilizers should be superglued into the cups so they will not move or flex (you can remove superglue with toluene). Rough up the back sides of the delrin stabilizers with sandpaper first so the glue will stick. Aluminum stabilizers are stiff, flat and glue much better than Delrin (don’t use sandpaper on aluminum stabilizers).
RETAINER LEAKS

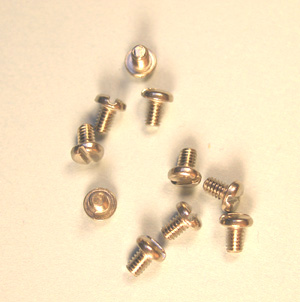
Be sure to install JS soft plastic retainer screw seals between the retaining washer and the screw head. They prevent air leaks and keep the screws from loosening. Do not place spacers between the washer and the spud because the centers of Gold pads do not crush – using spacers can cause leaks. In some cases you may need to replace the original retainer screws with our longer ones. We also stock and recommend recessed washers in case your flute has flat washers.
SHIMMING
For stability, avoid more than .012″ (.3mm) shim thickness). Use plastic rather than paper shims because paper can swell/shrink up to 20% with moisture/humidity changes and cause leaks. Bending/tilting the key side to side so its level with the tonehole is fine but never bend it from front to back or you will distort the cup. Never place anything between the pad and the tonehole in order to bend a cup because it will crush and damage the pads – use your bare fingers only. Pads should be shimmed within .001″ (or less) of perfection. Keep partial shims to a minimum. Beware that the pad is not so tight that it must be forced into the cups or the outer ring can be damaged or dislodged. Regular pads should measure .1mm (.004”) smaller than the cups. Trill pads should measure .2mm (.008”) smaller so they can be floated in. Cups should be well centered with the toneholes or a leak can result when the tonehole is too close to a retainer or the outside of the pad. If you use a leaklight make sure the pad is slightly tighter near the hinge or it will leak there. A leak light works good with side to side shimming but it can mislead you front to back.
TRILLS
The plastic rims are very thin so take care not to overheat them or poke through them with a needle when installing. Do not use shellac for the small C# & trills because it is very brittle and can easily lose its grip on the slippery plastic. Use hot glue and check with a leak light.
SELF LEVELING FLUTE PADS VIDEO
TONEHOLES

These pads are very flat and it is very important that toneholes be flat as well. JS diamond tonehole files are your best bet for achieving perfectly level toneholes. JS diamond files cut faster and smoother than other files and the diamonds do not seem to wear out. You can also check the flatness of tonehole rims with the file. Basic size pilots are supplied with the files. Inbetween size pilots in .5mm increments are also available (see below).
ROTARY CHAMFER FILES
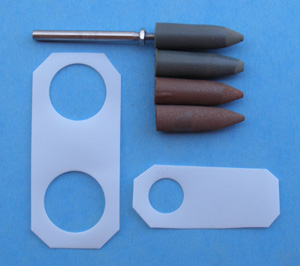
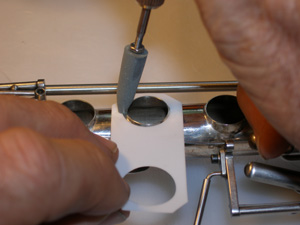
After the toneholes are flat you will need to smooth off the rough edges on the corners so the pad skin doesn’t get cut. The easiest way to do this is with rotary abrasive bits as shown below (available from jewelry supplies). A protective template can be used so you don’t accidentally damage the surface of the body. You can use a Dremel or similar hand tool.
NO HEAVY CLAMPING
Remember that these are not felt pads and should not be treated so. Do not use clamps on them. Do not overtighten the retaining screws or you will wrinkle/distort the pads and create leaks.
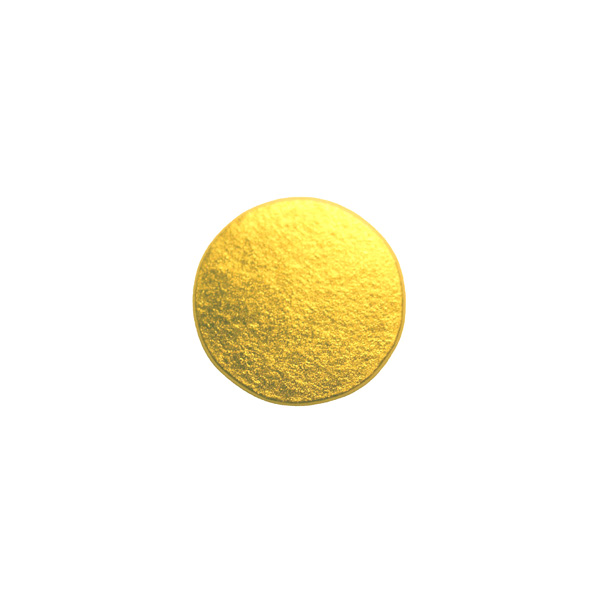
DAMAGE
If a gold pad suffers a dent or fingernail mark etc. Heat up a piece of thick flat metal in an oven to 300 deg F (use an oven thermometer and do not exceed 320 deg F).