We start off by cutting sheetmetal to form into the straight body cone. The JS stainless steel keywork is so efficient and light that we can use a heavy 1mm wall thick brasss to restore the lost weight (necessary for good tone). The sheet metal is annealed, wrapped around a steel cone mandril, then the seam is welded and the cone is pressed through a series of UHMW plastic collars to give it an accurate smooth cone shape to specs.
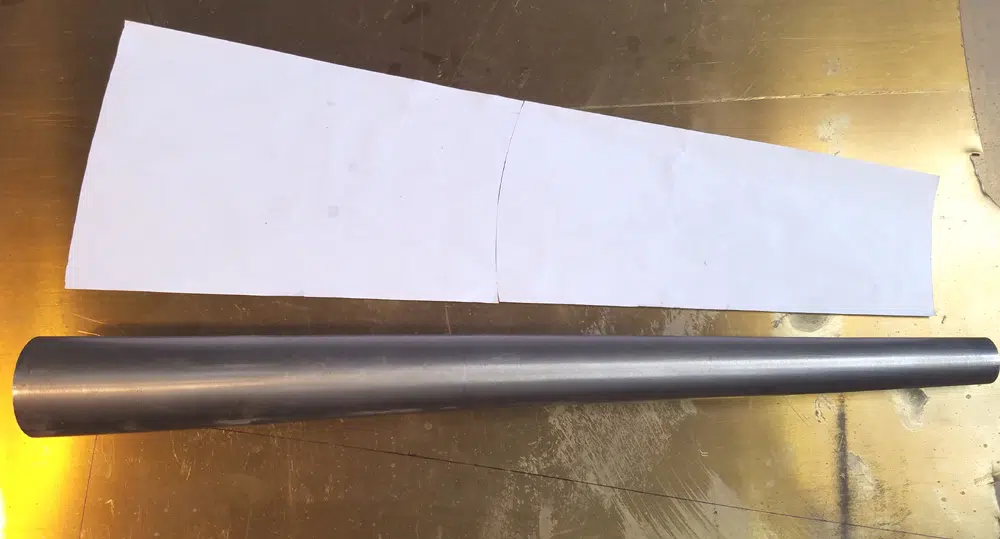
The template layout for the tonehole locations

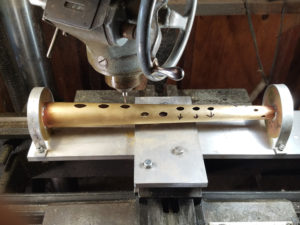
Once the cone is drawn we cut ellipses on a mill which will later be formed into toneholes.
The edges of the ellipses are annealed (black stain) so they won’t split when using the tonehole pulling tools.
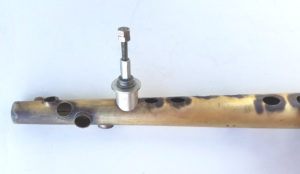
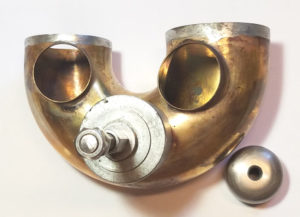
Needless to say the toneholes must be accurately placed with the help of a blueprint template. Tonehole pulling set below:
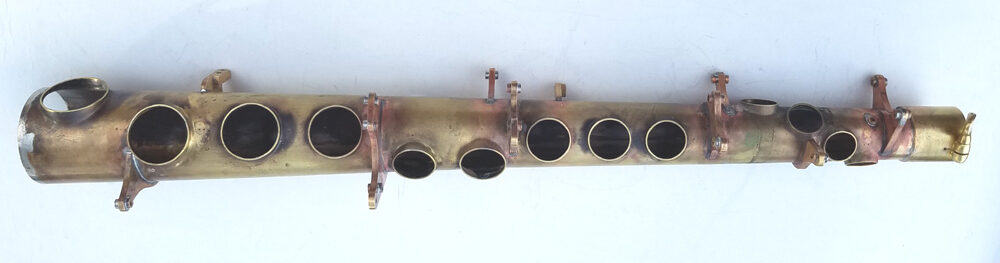
Cone Toneholes roughed in.
Cutting ellipses in the bow.
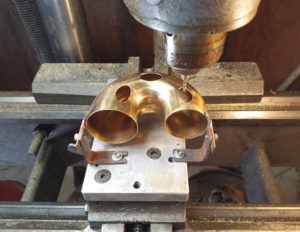
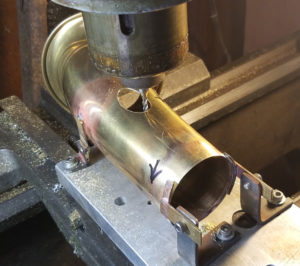
Drawing bow toneholes. The same process is used for the bell.
Cutting bell ellipses.
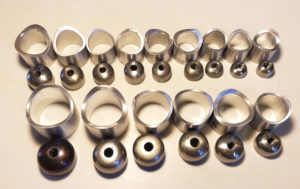
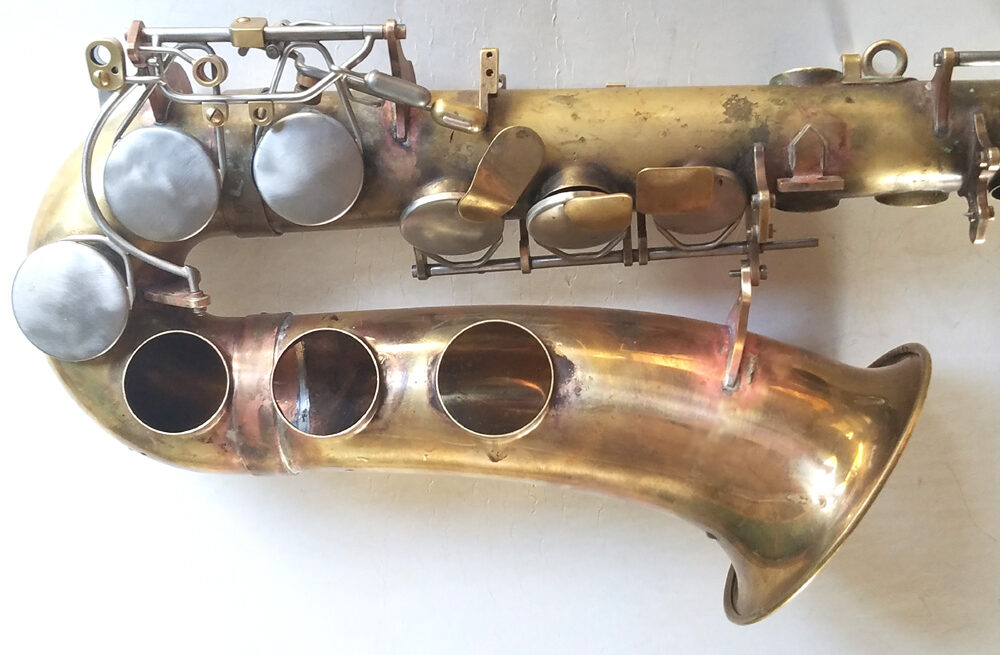
Finished bell toneholes.

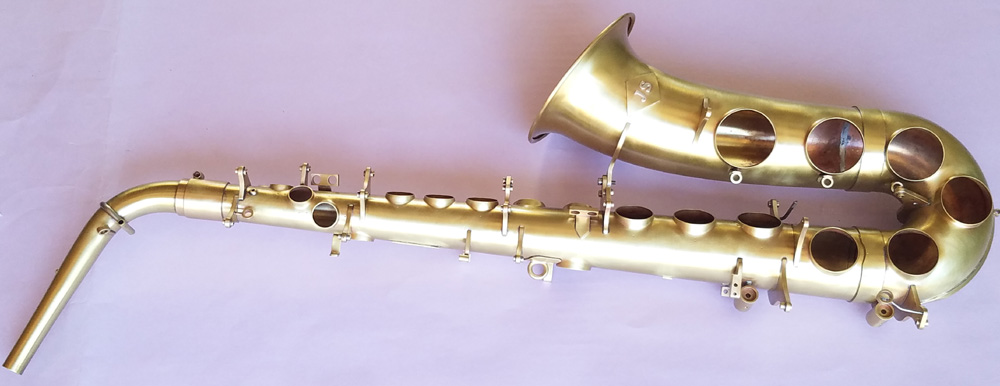
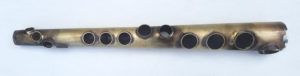
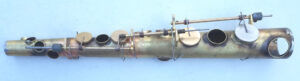
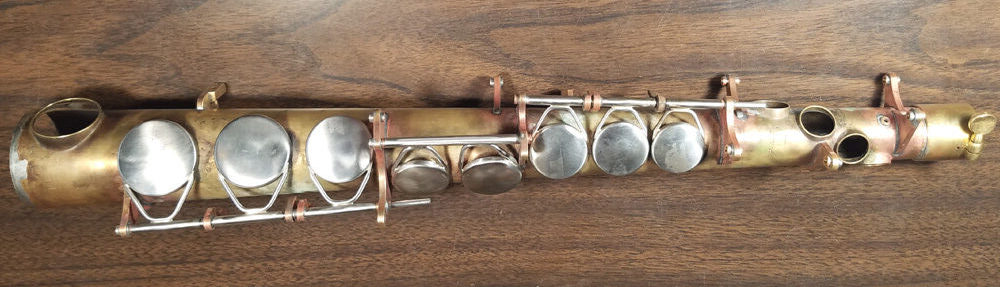
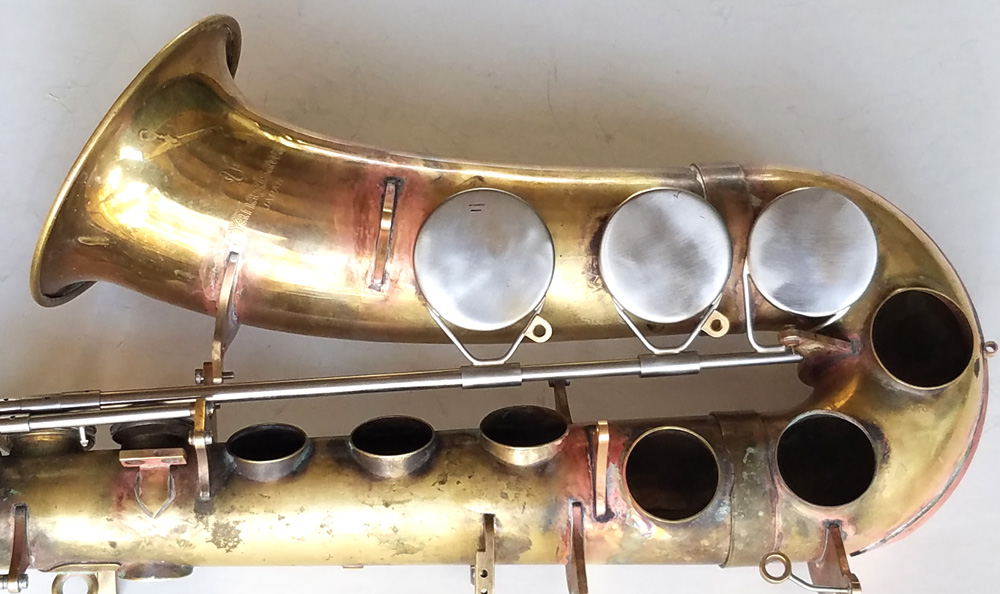
The Complete body with toneholes.
The posts (or “bridges”) that solder onto the body to hold the axles and keywork.

Jig for locating posts while soldering posts to the body
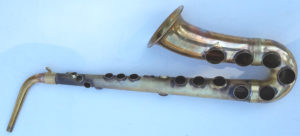
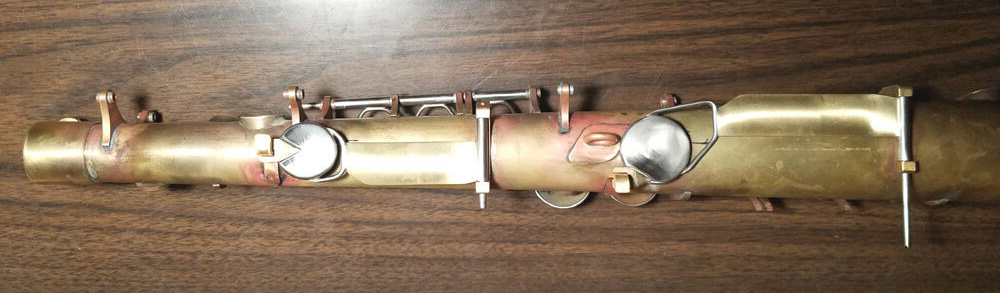
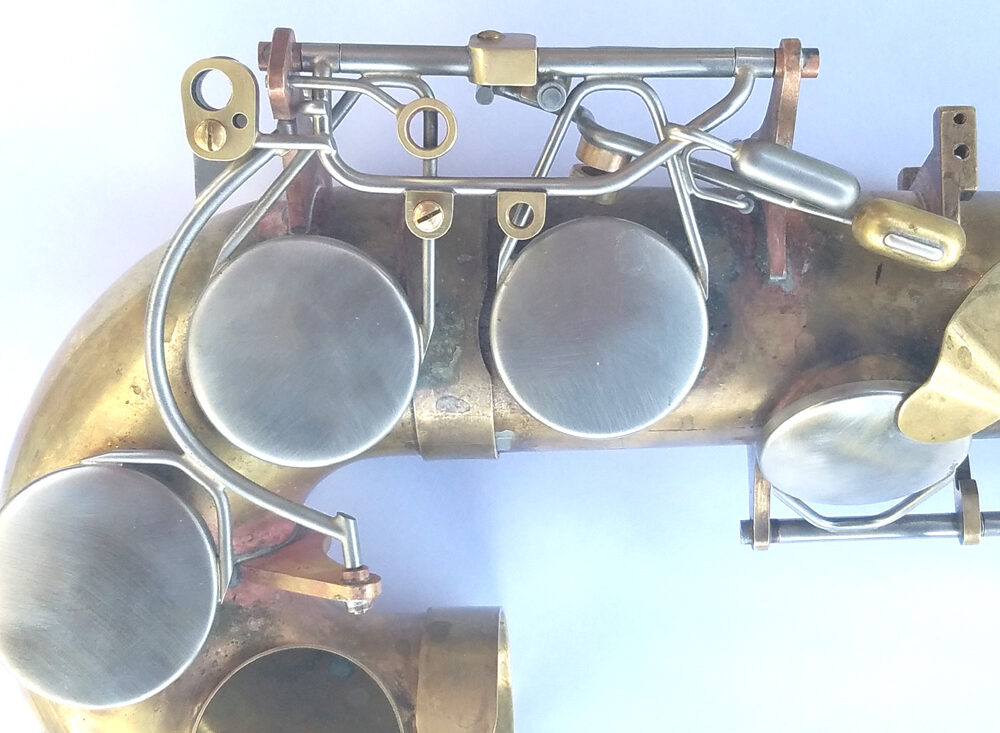
The completed body cone with posts attached ready for keywork fabrication.
Starting on the stainless steel keys
Thumb keys
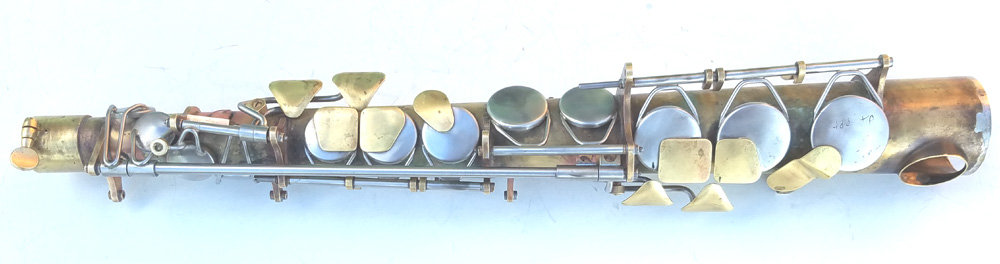
Finished top keys, touchpieces and magnets. A lot of time consuming angles and offsets.
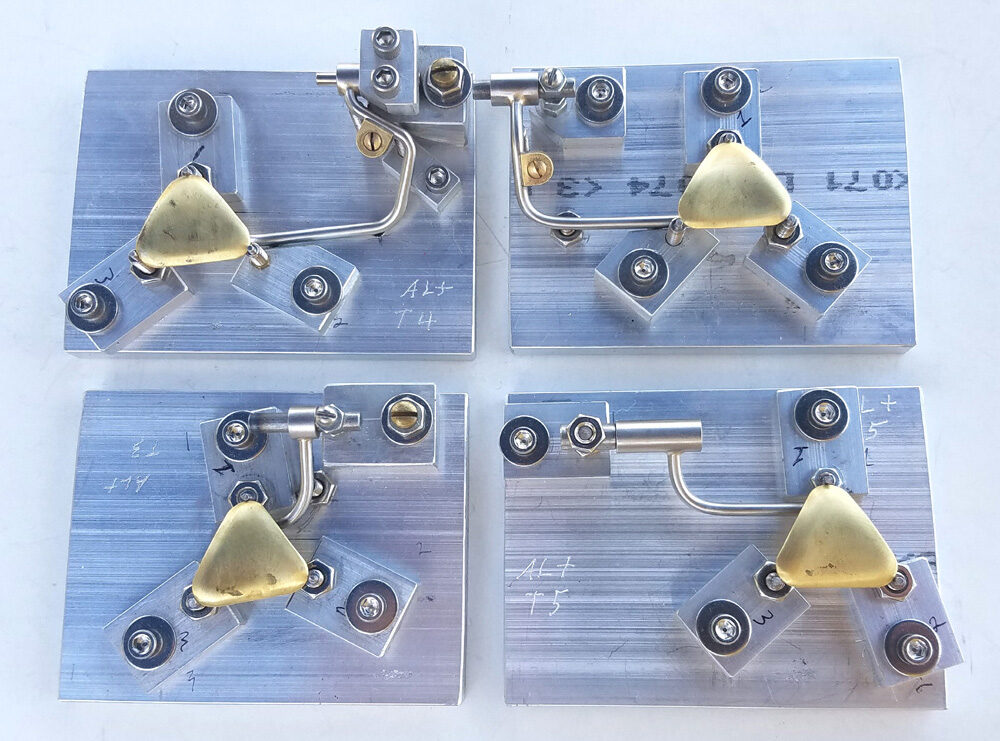
Jigs for replicating the top key touchpieces and brackets
The octave mechanism and octave touchpieces for each thumb.
The lower right hand notes – the most difficult area of construction
Mounting the bell
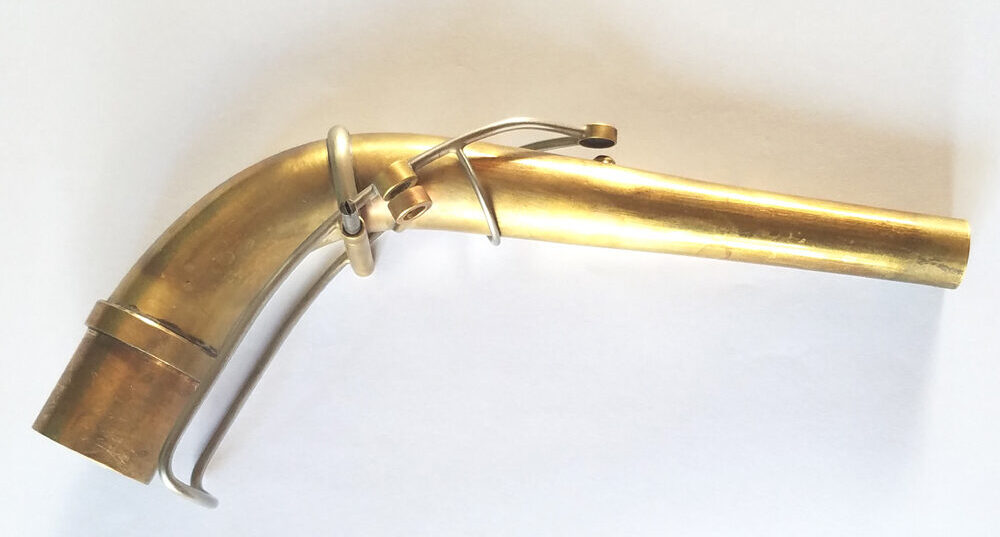
The neck key
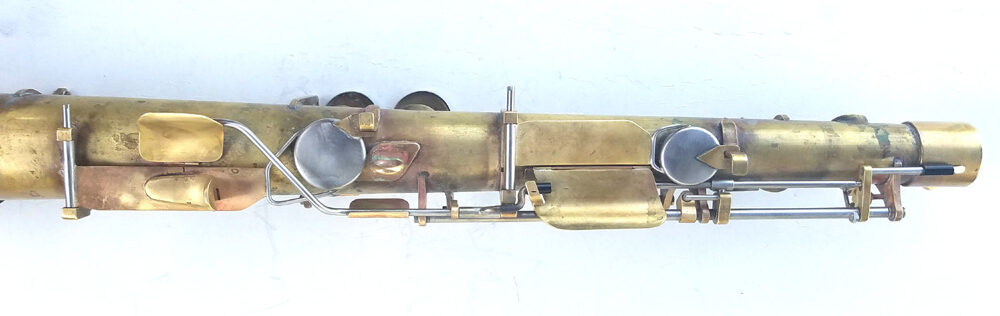
The low cups and triaxel
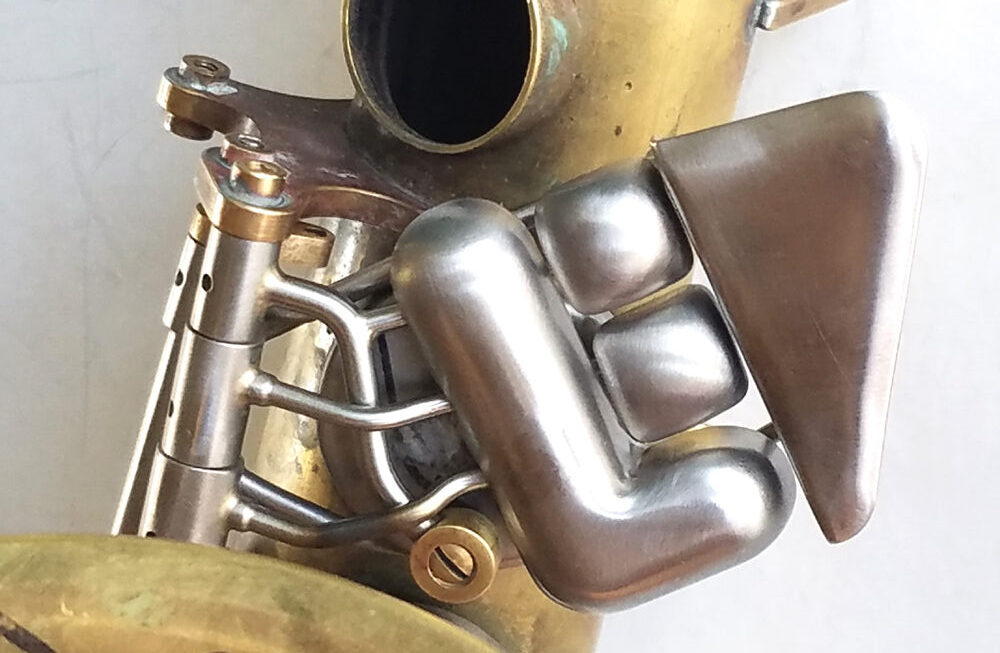
The low touchpieces, another precision area.
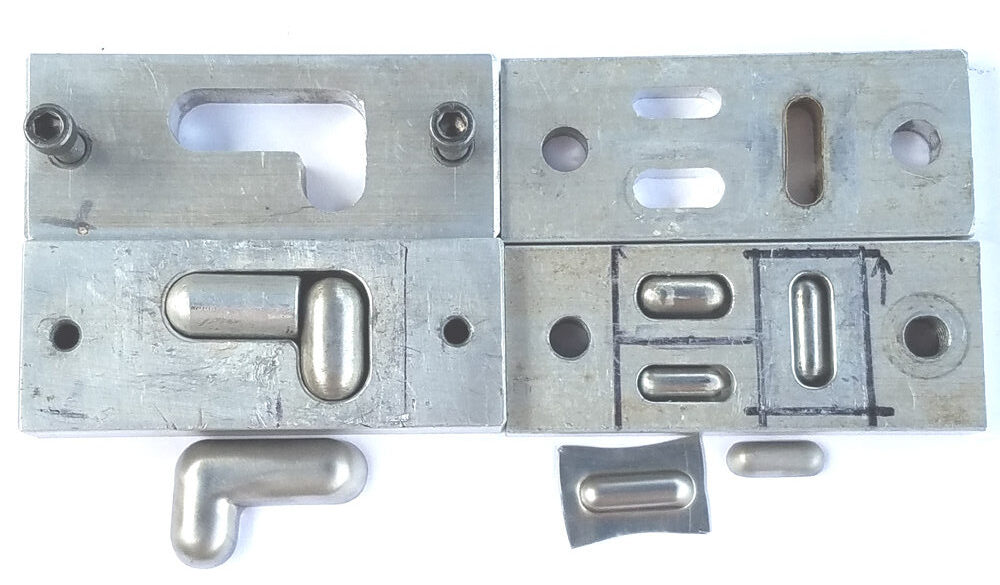
Forming dies for the low stainless steel touchpieces
Soldering jig for the low Bb touchpiece.

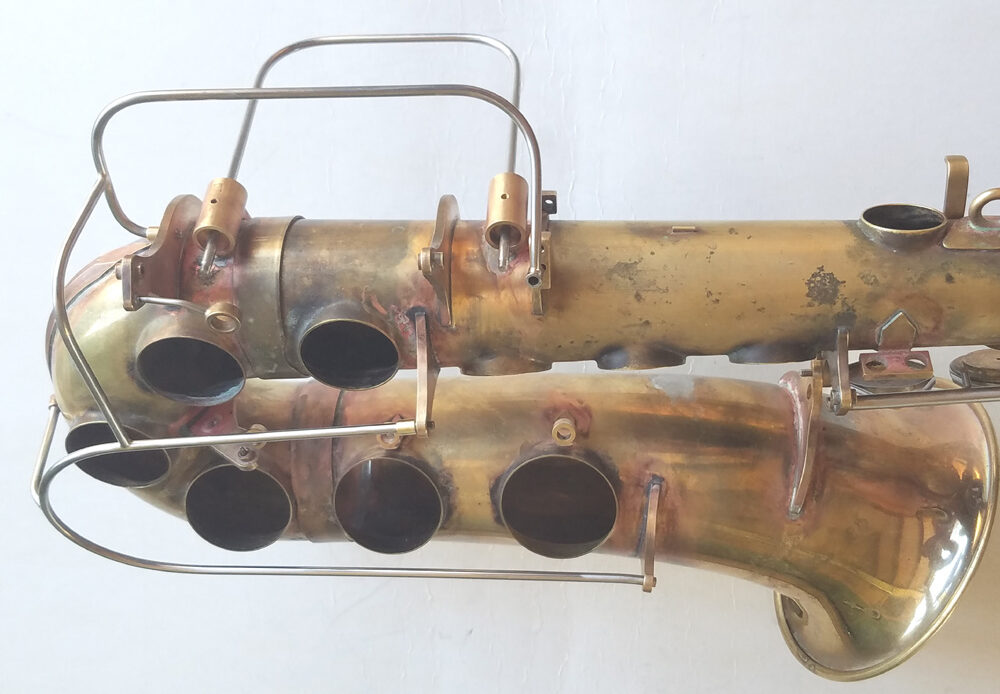
Low key guard and sliding belly guard
The body polished with baked on finish.